Setting up Outlook 2016/2013
Before setting up Microsoft Outlook, please note the default settings for the client setup.
The easiest way to use the mail services of your Microsoft® Exchange products is with Outlook version 2016 or 2013.
Licenses for Outlook 2016 clients can be purchased through Microsoft® Exchange by Telekom products and, once purchased, your administrator can download them in the “Downloads” section.
After installing the Outlook client on your PC, proceed as described below:
To connect your Outlook client to the Microsoft® Exchange server, select the “Email” entry in the control panel of your operating system (e.g., via Start > Settings > Control Panel). Now create a new email account.
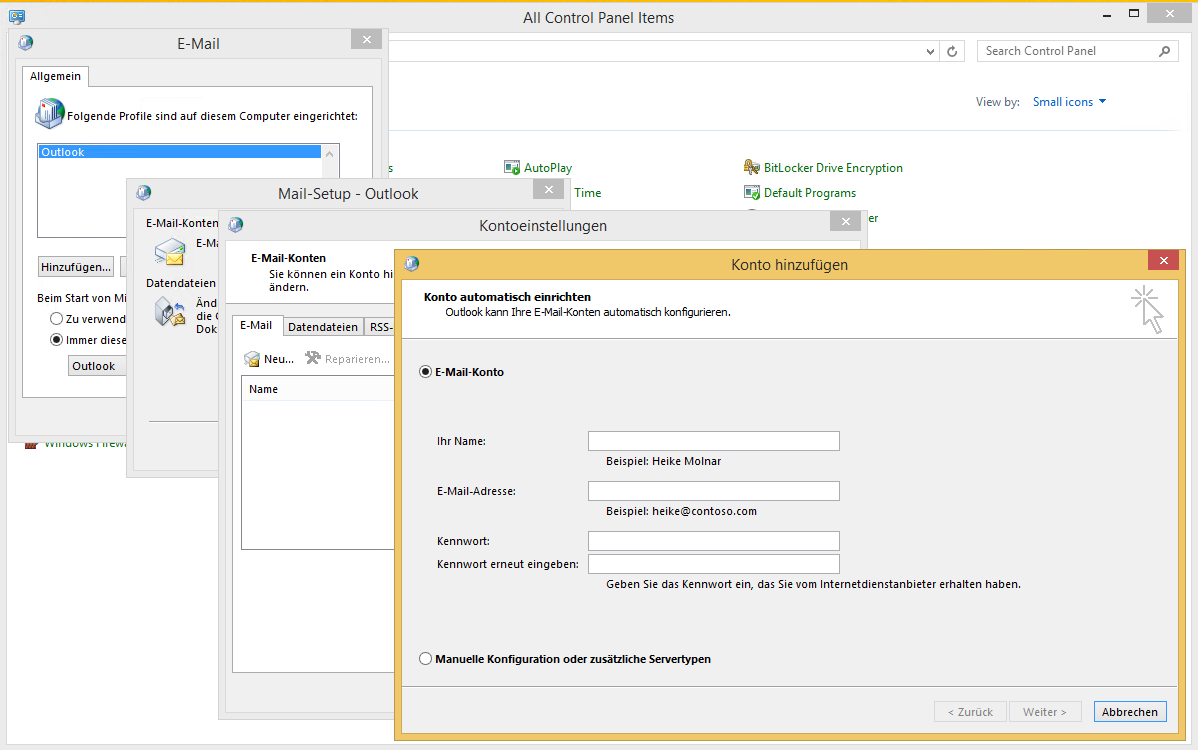
At this point you have the option of configuring your Outlook 2016 client either manually or automatically. Ask your administrator which option you should use. The individual setup options will be described below.
Automatic client setup
Below we will show you the procedure we recommend for the automatic configuration of Outlook 2016 clients:
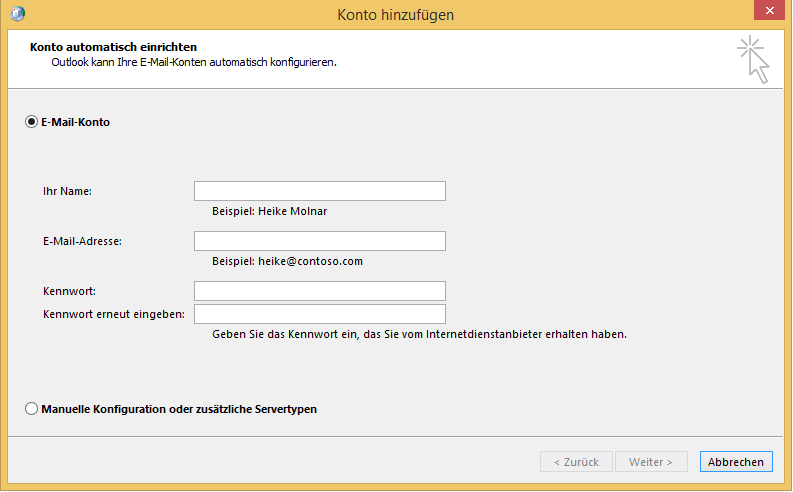
First select the email service “Email account”.
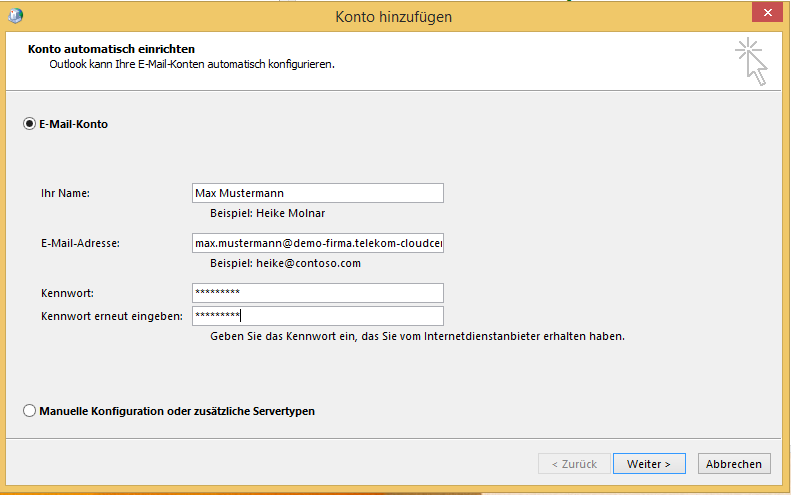
Then enter your data as requested.
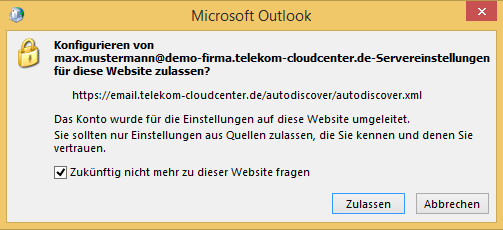
After reviewing your inputs, you need to configure the server settings. To do this, activate the option “Don’t ask me about this website again”.
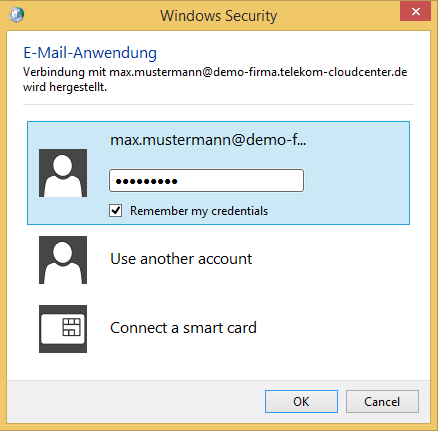
When asked for the login data, please use your username and the associated password. These details may differ from your email address!
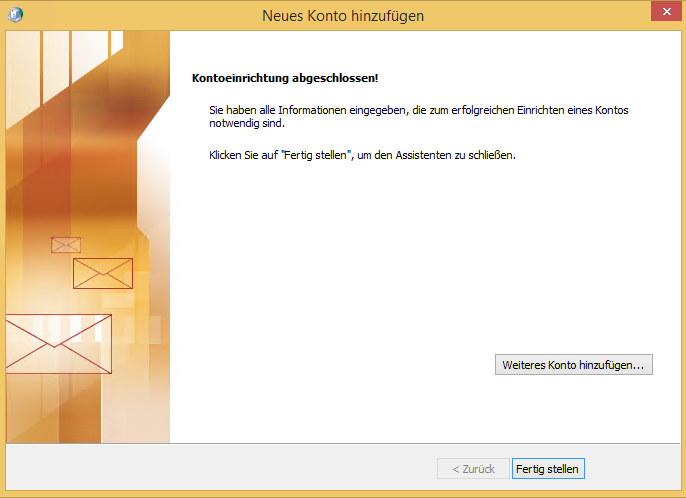
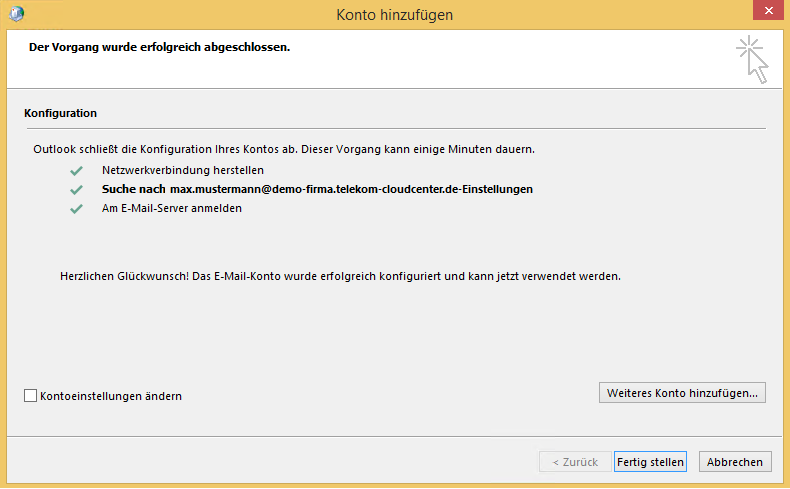
Once your Outlook 2016 client has been successfully configured, you can complete the configuration by clicking on the “Finish” button.
Setting up an SSL-secured POP3 account for the example of Outlook 2013
To receive your emails via an SSL-secured POP3 account, you can use Outlook Express, for example, or any other email client, provided it supports the POP3 protocol. The mailbox type “Exchange S” only supports access via POP3 and IMAP. The mailbox type “Exchange L”, on the other hand, supports access via POP3, IMAP and MAPI.
To ensure that your in-house emails are not transmitted without encryption, the Microsoft® Exchange product offers only secure access via POP3S.
The setup is done in Windows via the mail settings of the control panel (e.g., via Start > Settings > Control Panel). Proceed as described below to set up a POP3 account:
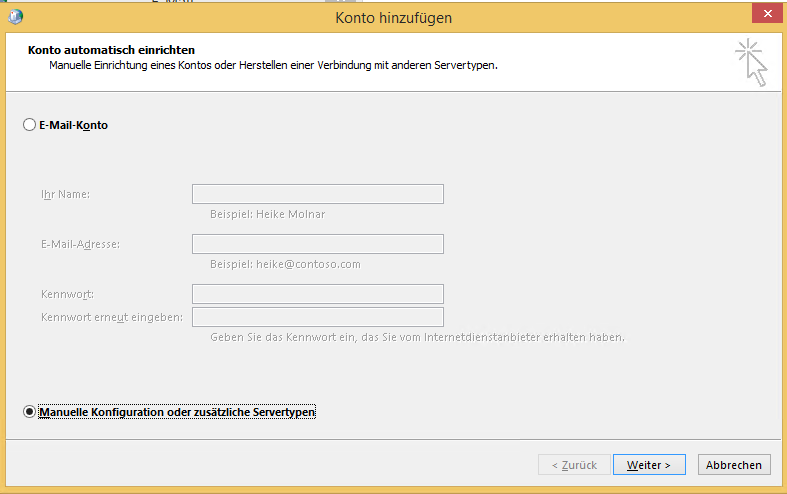
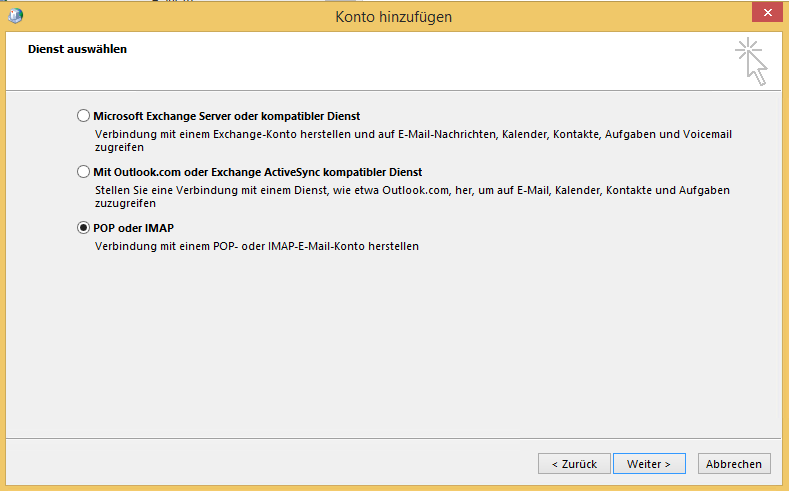
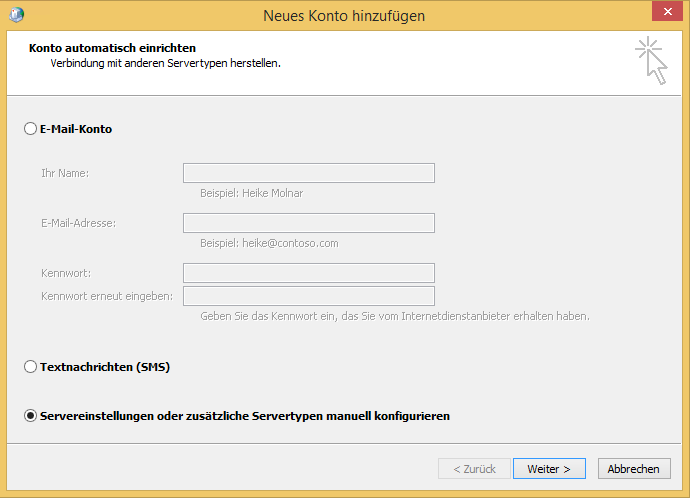
First, select the function for adding a new account in the dialog window for adding a new account, then select the option “Manual configuration or additional server types” and click on the “Next” button.
In the following dialog window, select the option “POP or IMAP” and confirm your selection by clicking on the “Next” button.
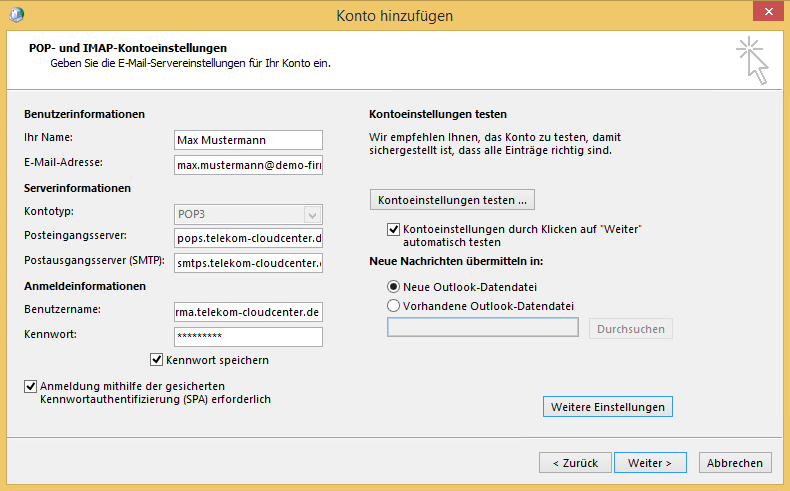
Im nächsten Dialog-Fenster geben Sie bitte die nachfolgenden Daten ein, wobei die Angaben zu den Benutzer- und Anmeldeinformationen durch Ihre entsprechenden Daten zu ersetzen sind.
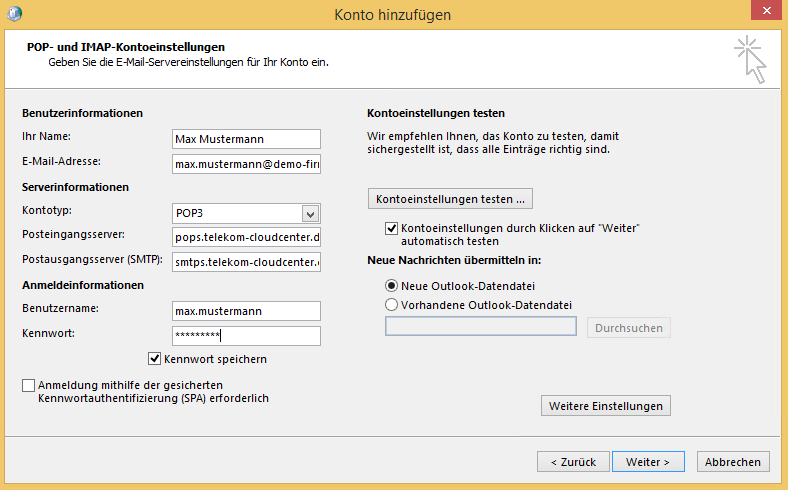
Your name: (First name, last name)
Email address: firstname.lastname@yourdomain
Incoming mail server (POP3): pops.telekom-cloudcenter.de
Outgoing mail server (SMTP): smtps.telekom-cloudcenter.de
Username: firstname.lastname@yourdomain
Password: The password assigned by the administrator.
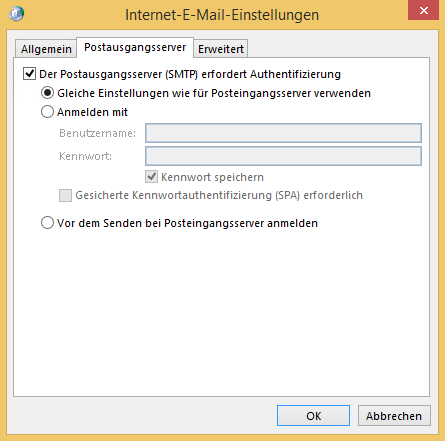
Then click on “Additional settings” and select the “Outgoing mail server” tab in the following dialog window. Now be sure to activate the “Outgoing mail server (SMTP) requires authentication” option. To ensure the functionality, make sure that the password assigned by the administrator has been entered in the previous step, since emails without authentication will not be sent for security reasons.
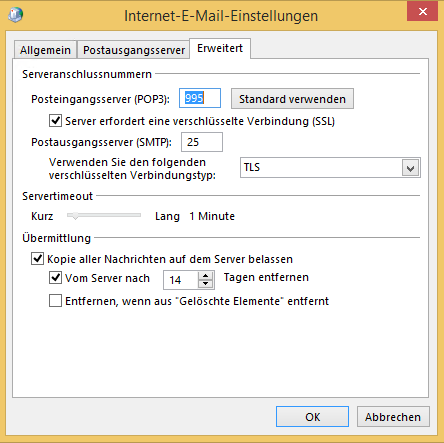
To complete the settings for secure POP, click on the “Advanced” tab and activate the option “Server requires an encrypted connection (SSL)”. The port for the incoming mail server is now automatically changed from 110 to 995. In addition, select the connection type “TLS” for the outgoing mail server. Then close the dialog by clicking on the “OK” button.
Confirm your inputs by clicking on the “Next” button.
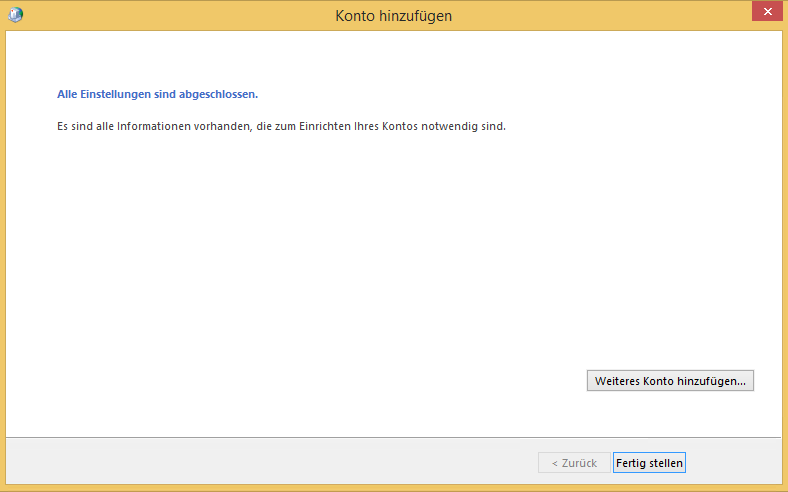
To complete the account setup, click on the “Finish” button.
Your emails can now be sent and retrieved via Outlook. Of course, the settings also apply for all other mail programs, but will not be further discussed here.
Setting up a secured IMAP account for the example of Outlook 2013
As an alternative to Exchange or POP3 access, you can also use IMAP for your emails.
To ensure that your in-house emails are not transmitted unsecured, the Microsoft® Exchange product offers only secure access via IMAPS.
The setup is done in Windows via the “Email” entry in the control panel (e.g., via Start > Settings > Control Panel). Proceed as described below to add a new email account:
In the dialog window for adding a new account, first select the email service “Email account” and click on the “New” button.
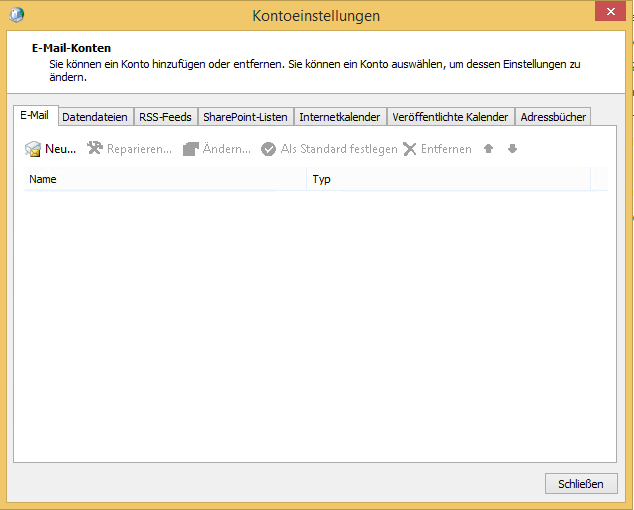
Then activate the option “Manually configure server settings or additional server types” and click on the “Next” button.
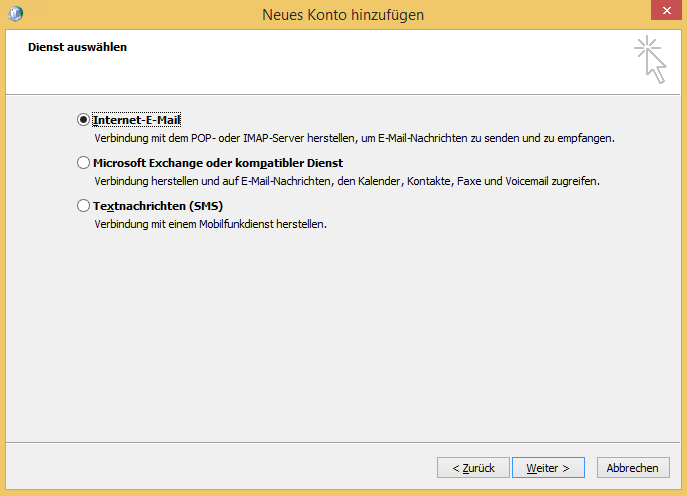
In the following dialog window, select the option “Internet email” and confirm your selection by clicking on the “Next” button.
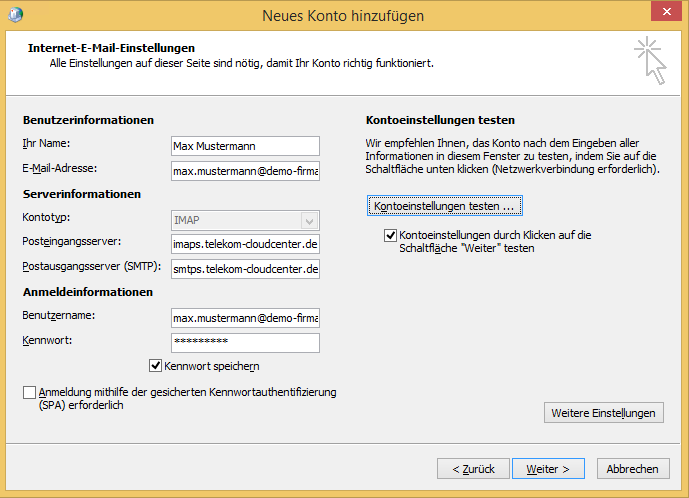
In the next dialog window, enter the following data, replacing the user and login information with your corresponding details.

Your name: (First name, last name)
Email address: firstname.lastname@yourdomain
Incoming mail server (IMAP): imaps.telekom-cloudcenter.de
Outgoing mail server (SMTP): smtps.telekom-cloudcenter.de
Username: firstname.lastname@yourdomain
Password: The password assigned by the administrator.
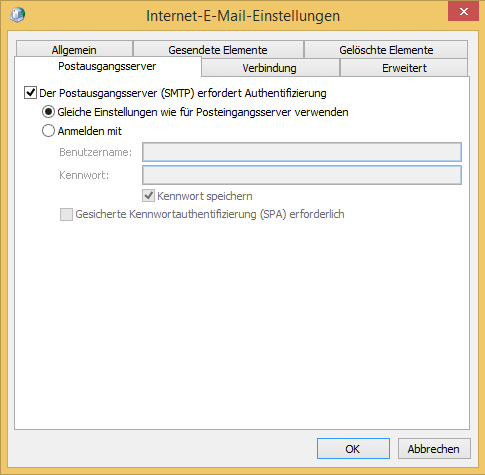
Then click on “Additional settings” and select the “Outgoing mail server” tab in the following dialog window. Now be sure to activate the “Outgoing mail server (SMTP) requires authentication” option. To ensure the functionality, make sure that the password assigned by the administrator has been entered in the previous step, since emails without authentication will not be sent for security reasons.
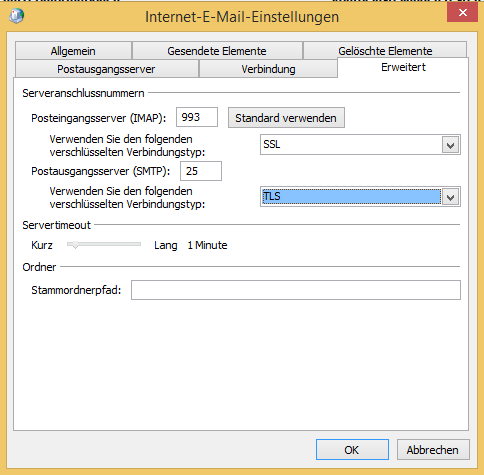
To complete the settings for secure IMAP, click on the “Advanced” tab and select the value “SSL” under “Use the following encrypted connection types” for the incoming mail server.
For the outgoing mail server, select the value “TLS” under “Use the following encrypted connection types”.
Then close the dialog by clicking on the “OK” button.
Confirm your inputs by clicking on the “Next” button.
To complete the account setup, click on the “Finish” button.