Managing a distribution list
In Telekom Cloud Manager, administrators can create “distribution lists” for central use and authorize one mailbox user per list as the “Administrator”. The administrator of a distribution list can see it in the global address list and can add or remove users or any e-mail addresses. The use of an Outlook client is required for administration. Alternatively, a distribution list can also be managed using the Outlook Web App.
A central distribution list appears in the global address list and is visible to all mailbox users. Emails sent to a central distribution list will be automatically forwarded to all email addresses in this list.
Here you can see the following options for managing a distribution list (membership management):
- Management of a distribution list using Microsoft Outlook
- Management of a distribution list using Outlook Web App
How to manage a distribution list using Microsoft Outlook:
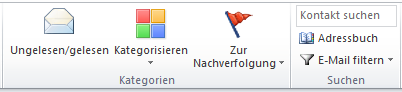
Select “Address book” in Outlook. You can usually find this as a symbol in the Outlook ribbon.
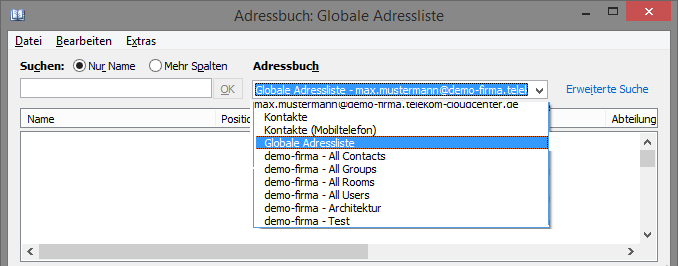
Then select your mailbox under “Address book” in the address book, e.g., jane.doe@demo-company.telekom-cloudcenter.de, and then select “Global address list”. Alternatively, you can also select “All groups”, because distribution lists are created as groups.
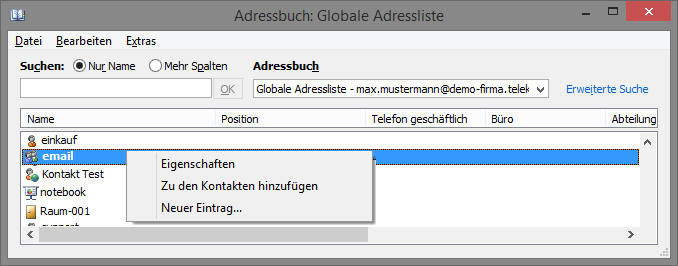
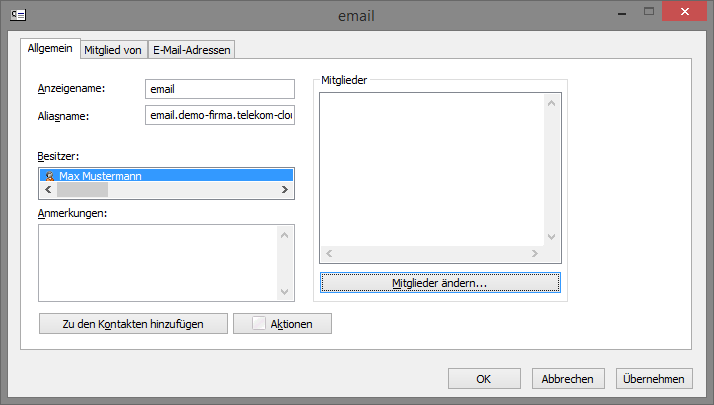
If there is a very large number of entries in your address book, you can use the “Search” field to search directly for the name of the distribution list. To open the distribution list, right-click and select “Properties” in the menu that opens.
You can then manage (add or remove) all members of the distribution list in the “Members” section. To do this, click on “Change members”.
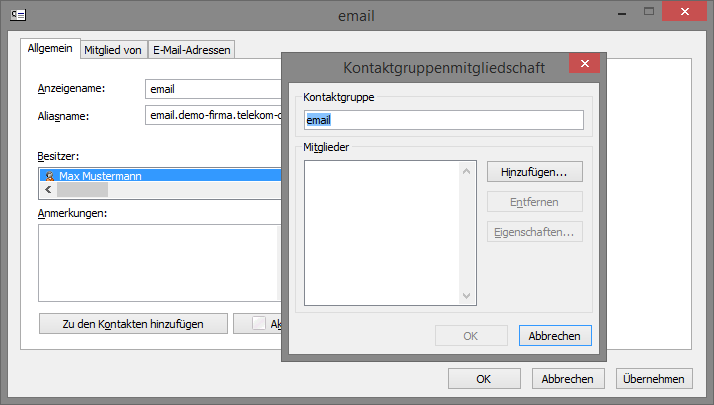
To remove existing members, first select the member under “Members” and then click on the “Remove” button. To add new members, click on “Add”.
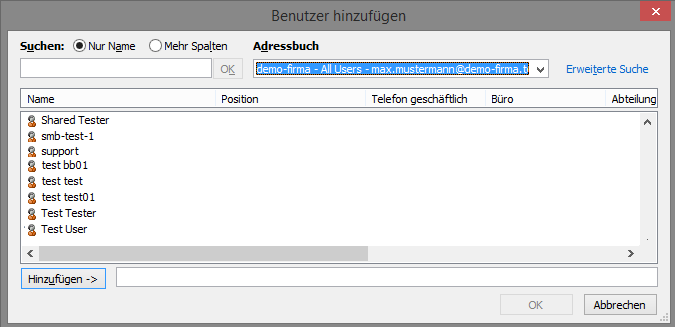
Then search your address book for the members (recipients) you want to add. Select these by clicking on them, then click on the “Add” button. You can select several members by holding down the Ctrl key. Confirm your selection by clicking “OK”.
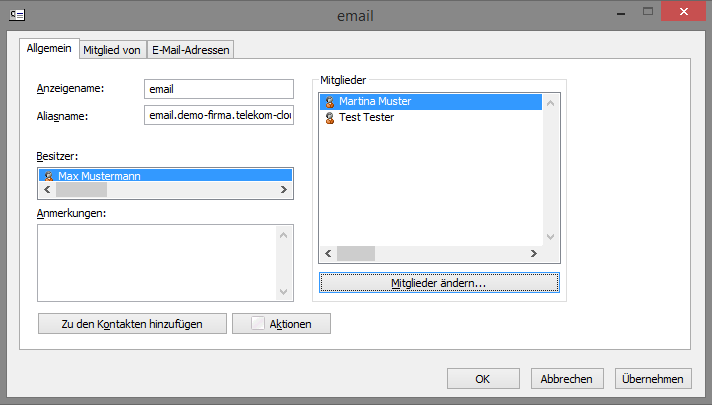
The selected members then appear under “Members”. Close the view by clicking “OK”.
How to manage a distribution list using the Outlook Web App:
Log in to your mailbox at https://email.telekom-cloudcenter.de.
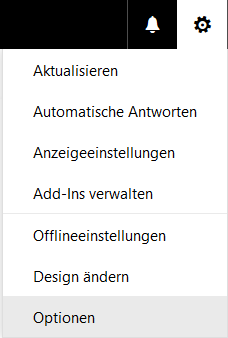
After logging in, click on the cog icon in the top-right pane and then click on “Options” in the menu.
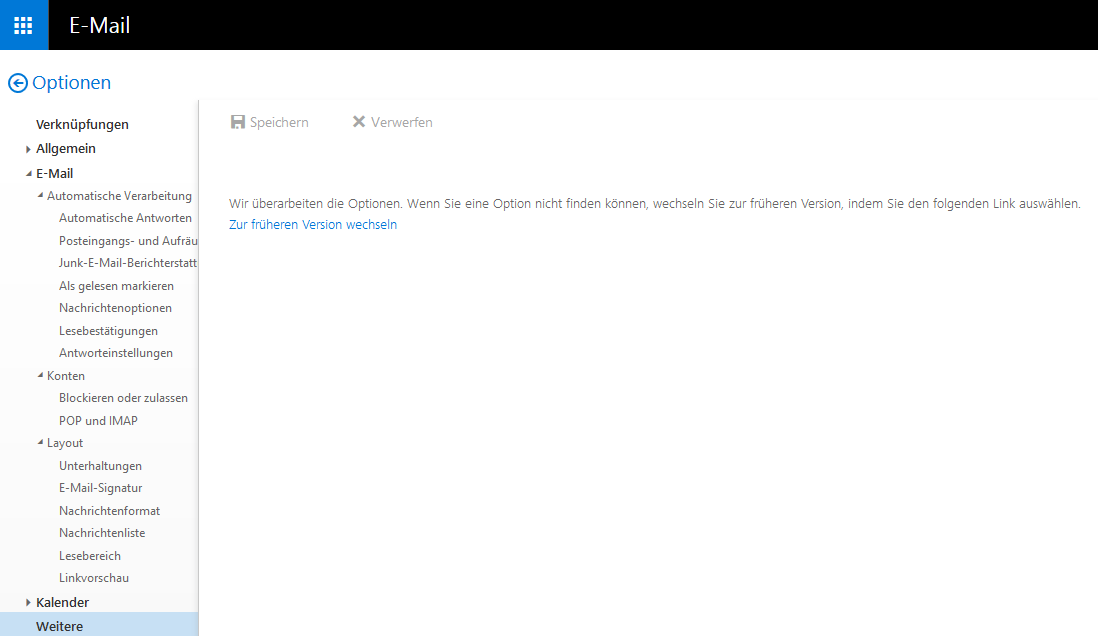
Next, click on “Other”, right at the bottom of the left edge of the screen, and then on “Change to the previous version”.
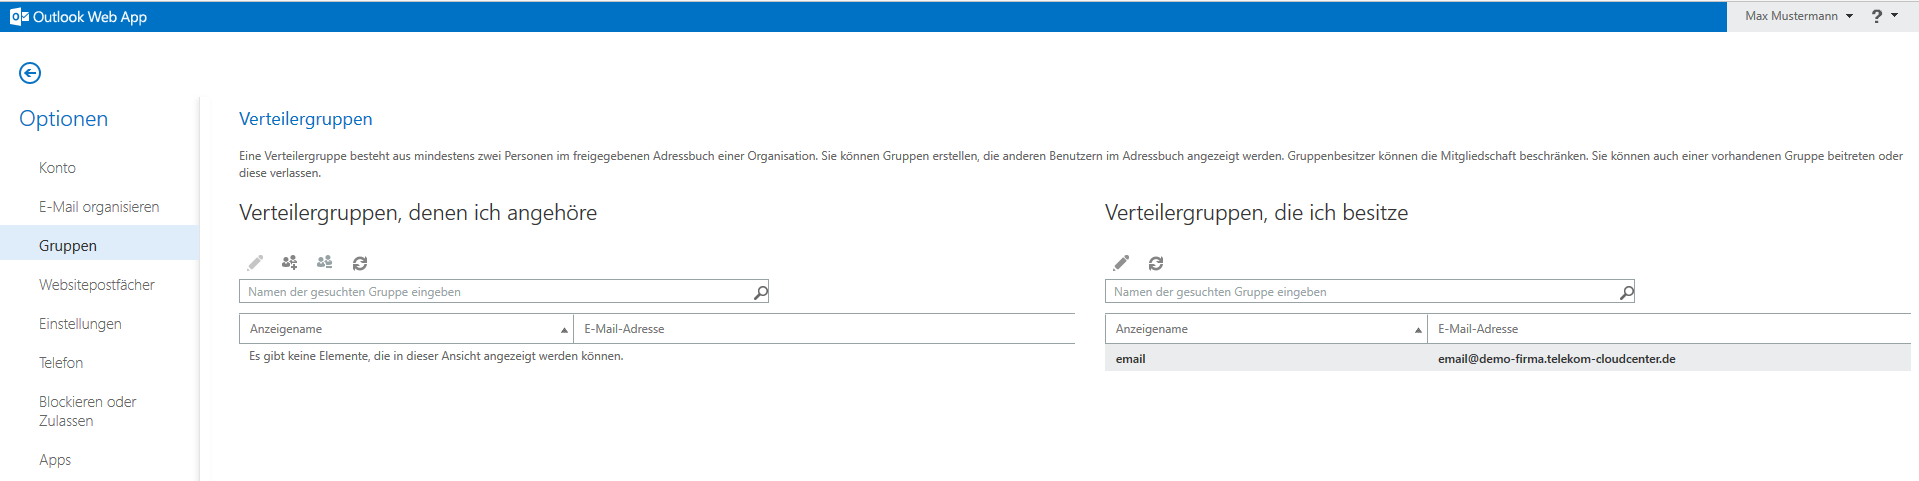
The appearance of Outlook Web App then changes. This appearance can be changed again. Now select “Groups” in the left pane. You will then see all distribution groups (= distribution lists) to which you belong and which you own or manage.
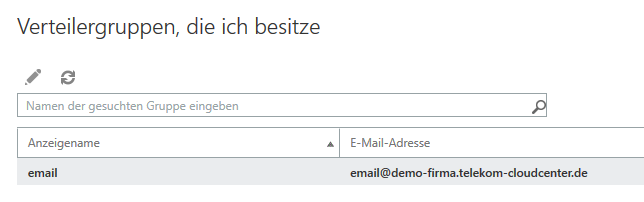
Under “Distribution groups I own”, click on the distribution group you want to edit then click on the pencil icon to edit the group.
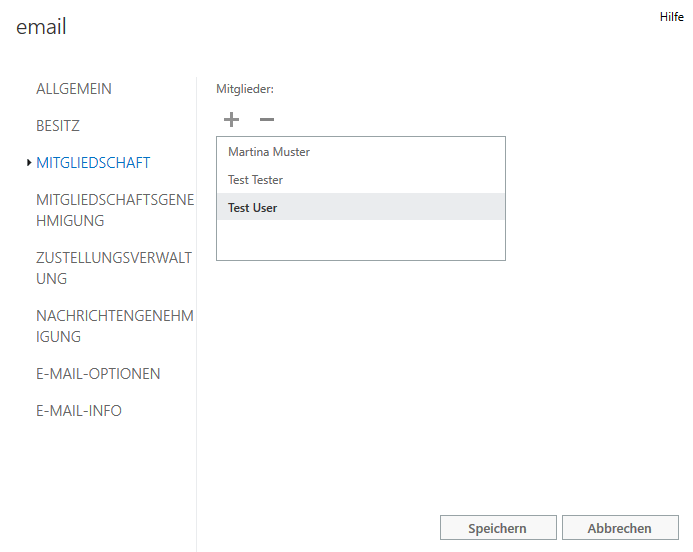
In the next dialog, select the item “Membership”. To remove existing members, first mark them by clicking on them in the “Members” area and then click on the minus-sign icon. To add members, select the plus-sign icon.

To add new members, search for the members you want in your address book and click on the plus-sign icon to add them. Save your selection by clicking “Save”.
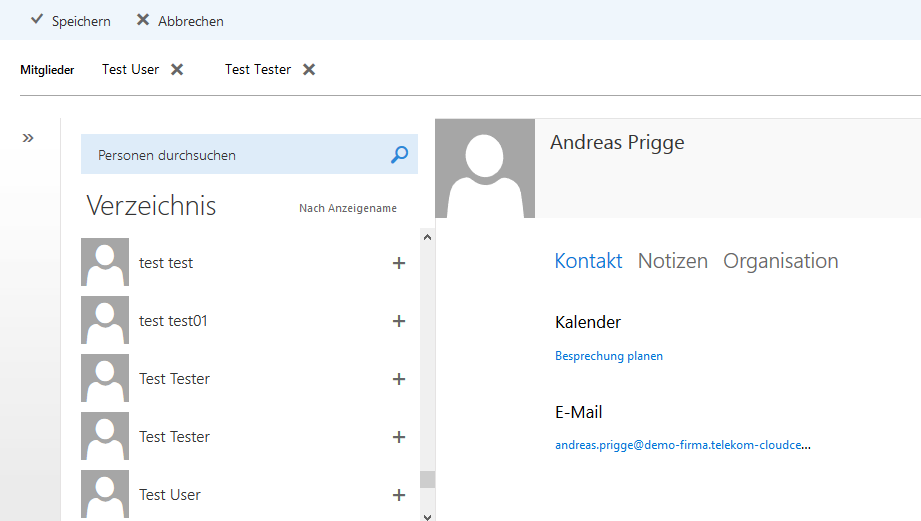
Added members appear in the “Members” pane. Finally, click on the “Save” button.