Managing resource mailboxes
This help section explains how you can use resource mailboxes for appointments, and how to access them as the administrator of a resource mailbox.
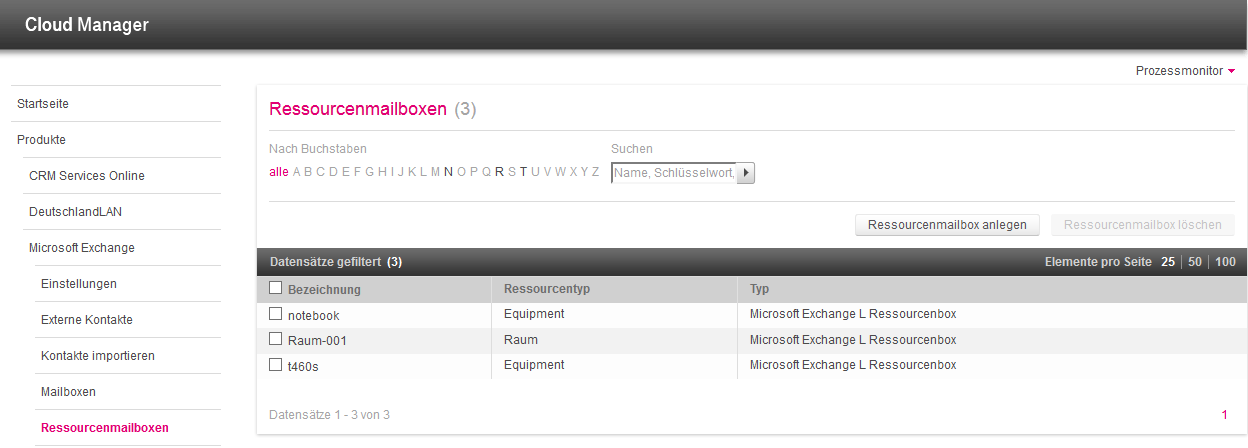
You can create and manage resource mailboxes in Cloud Manager for your organization using the resource mailbox management. Resource mailboxes are differentiated by resource type, where a distinction is made between rooms and equipment.
If resource mailboxes have been created for your organization, these can be booked for meetings or appointments by adding them to the meeting request as a resource. Resource mailboxes appear in the global Exchange address book in exactly the same way as external contacts and users of your organization.

To book a room as a resource for a meeting, add the required resource mailbox under “Add rooms” when you create the meeting request.
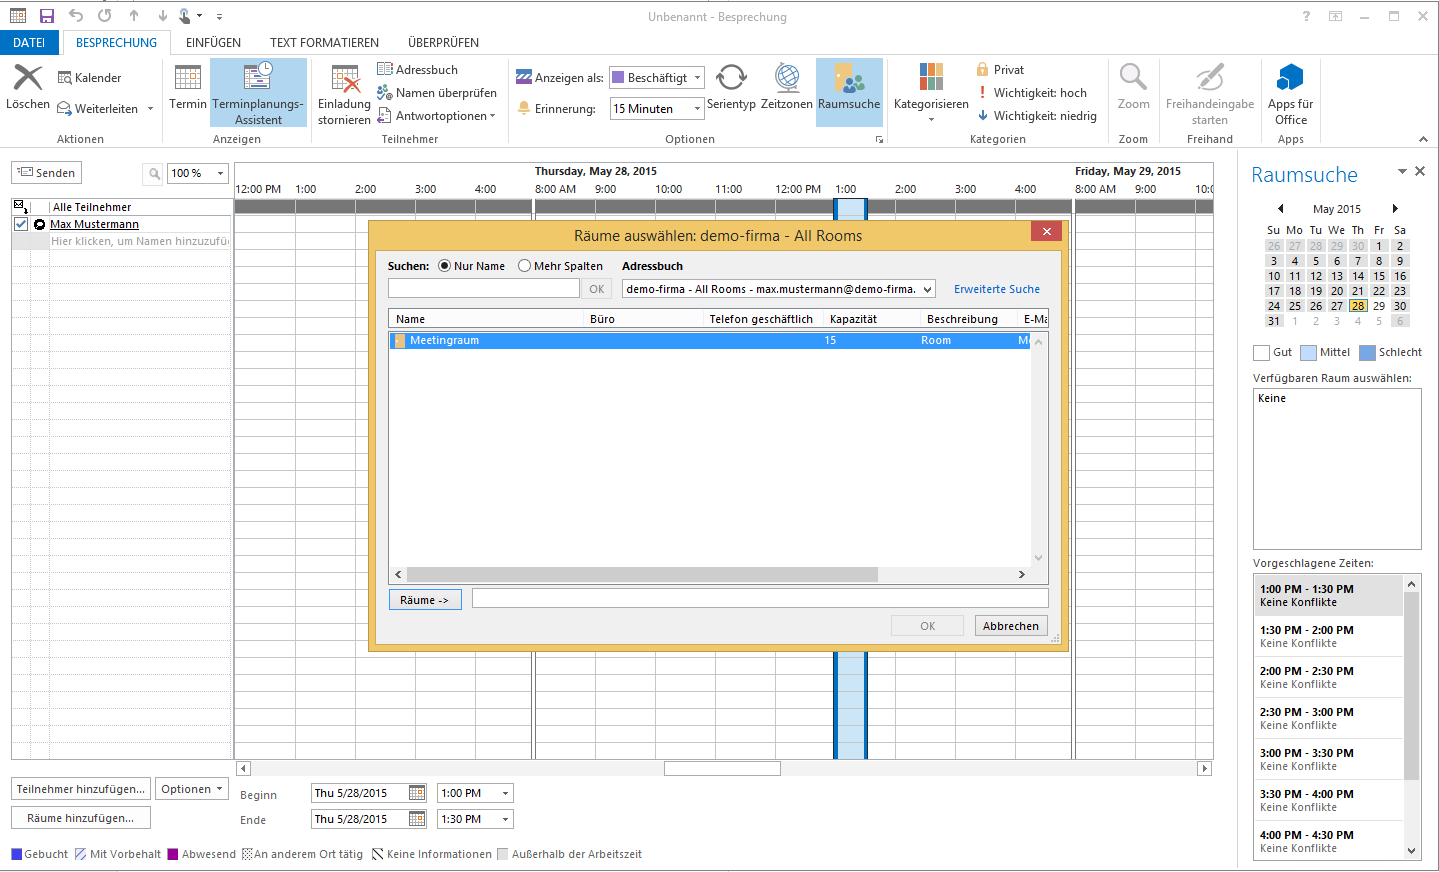
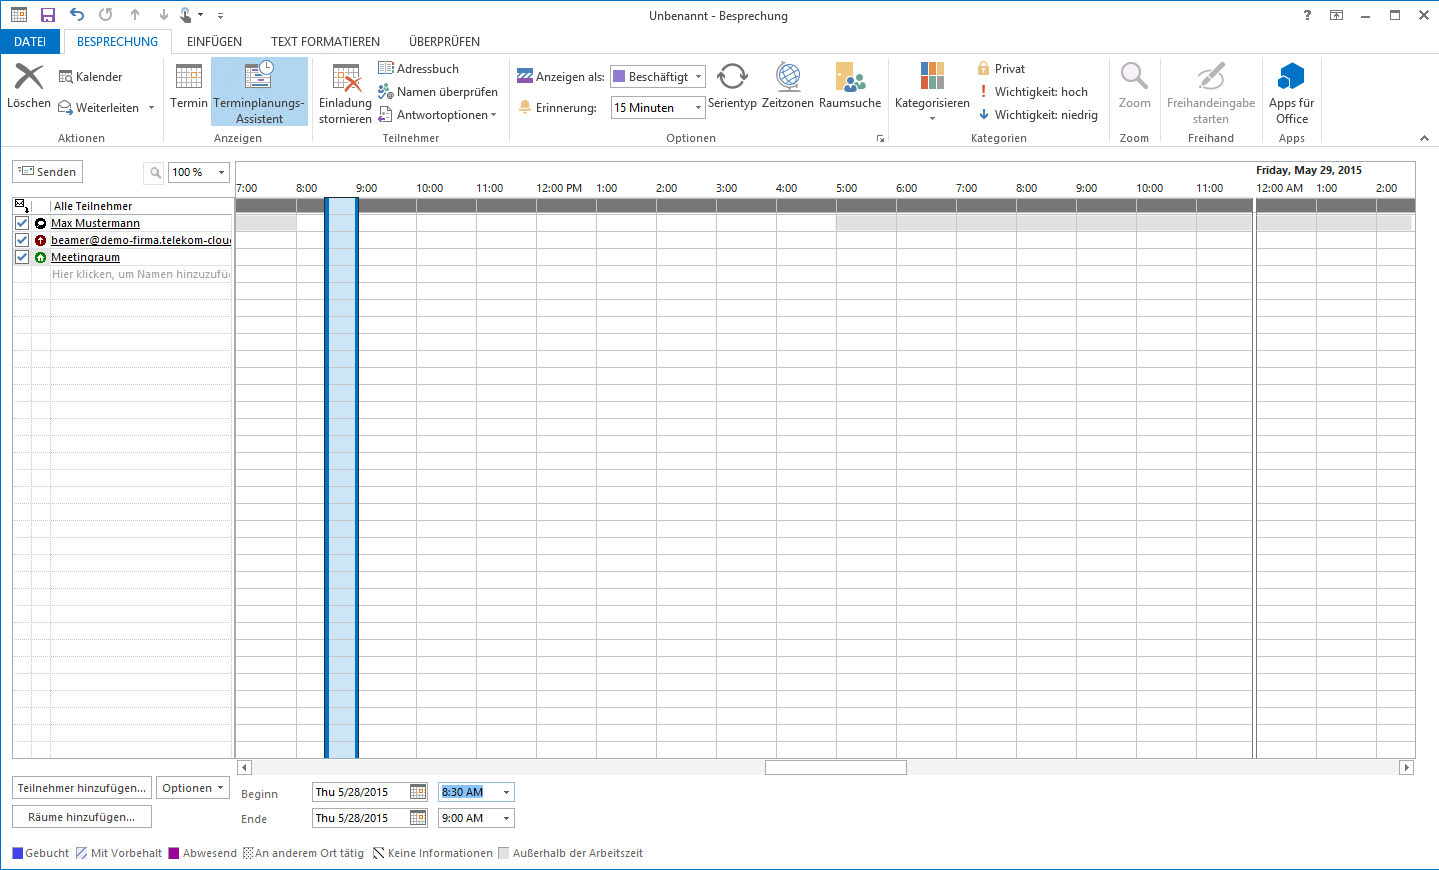
You can use the scheduling wizard to check if a resource (room or equipment) is available for the time of your scheduled meeting. To do this, add the required resource to the appointment and check its availability in the calendar displayed.
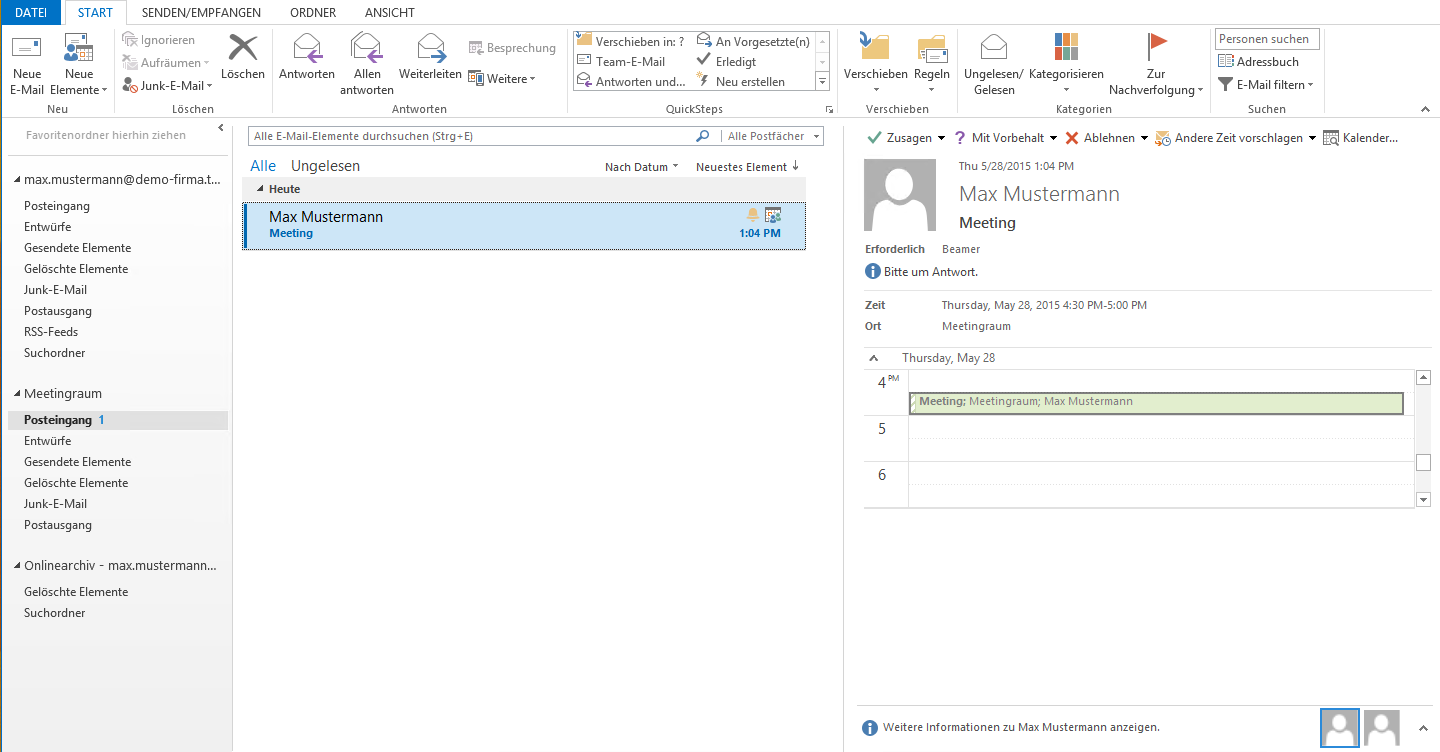
The administrator is responsible for the acceptance or rejection of appointments sent to a resource mailbox. This must be specified when creating the resource mailbox in Cloud Manager. To manage a resource mailbox, the administrator must access this mailbox – either by integrating the mailbox into Microsoft Outlook or via the Outlook Web App (OWA). As the administrator of a resource mailbox, it will be automatically displayed to you in Microsoft Outlook. You may need to restart Outlook for this.
Opening a resource mailbox via the Outlook Web App
You can access a resource mailbox via the Outlook Web App as follows:
Open Outlook Web App via https://email.telekom-cloudcenter.de.
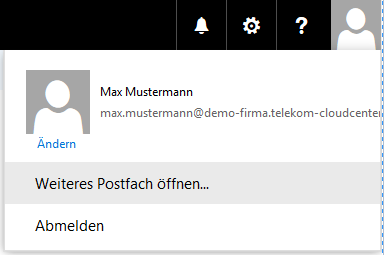
After logging in, click on the icon for your account management in the top-right corner of your mailbox. Then click on “Open another mailbox”.
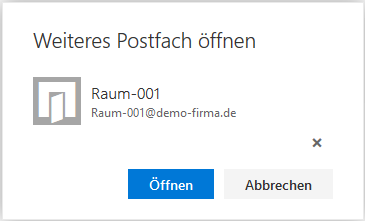
Enter the name or email address of the resource mailbox in the subsequent search filed and click on “Browse directory”.

Select the required resource mailbox from the search results and click on “Open”.
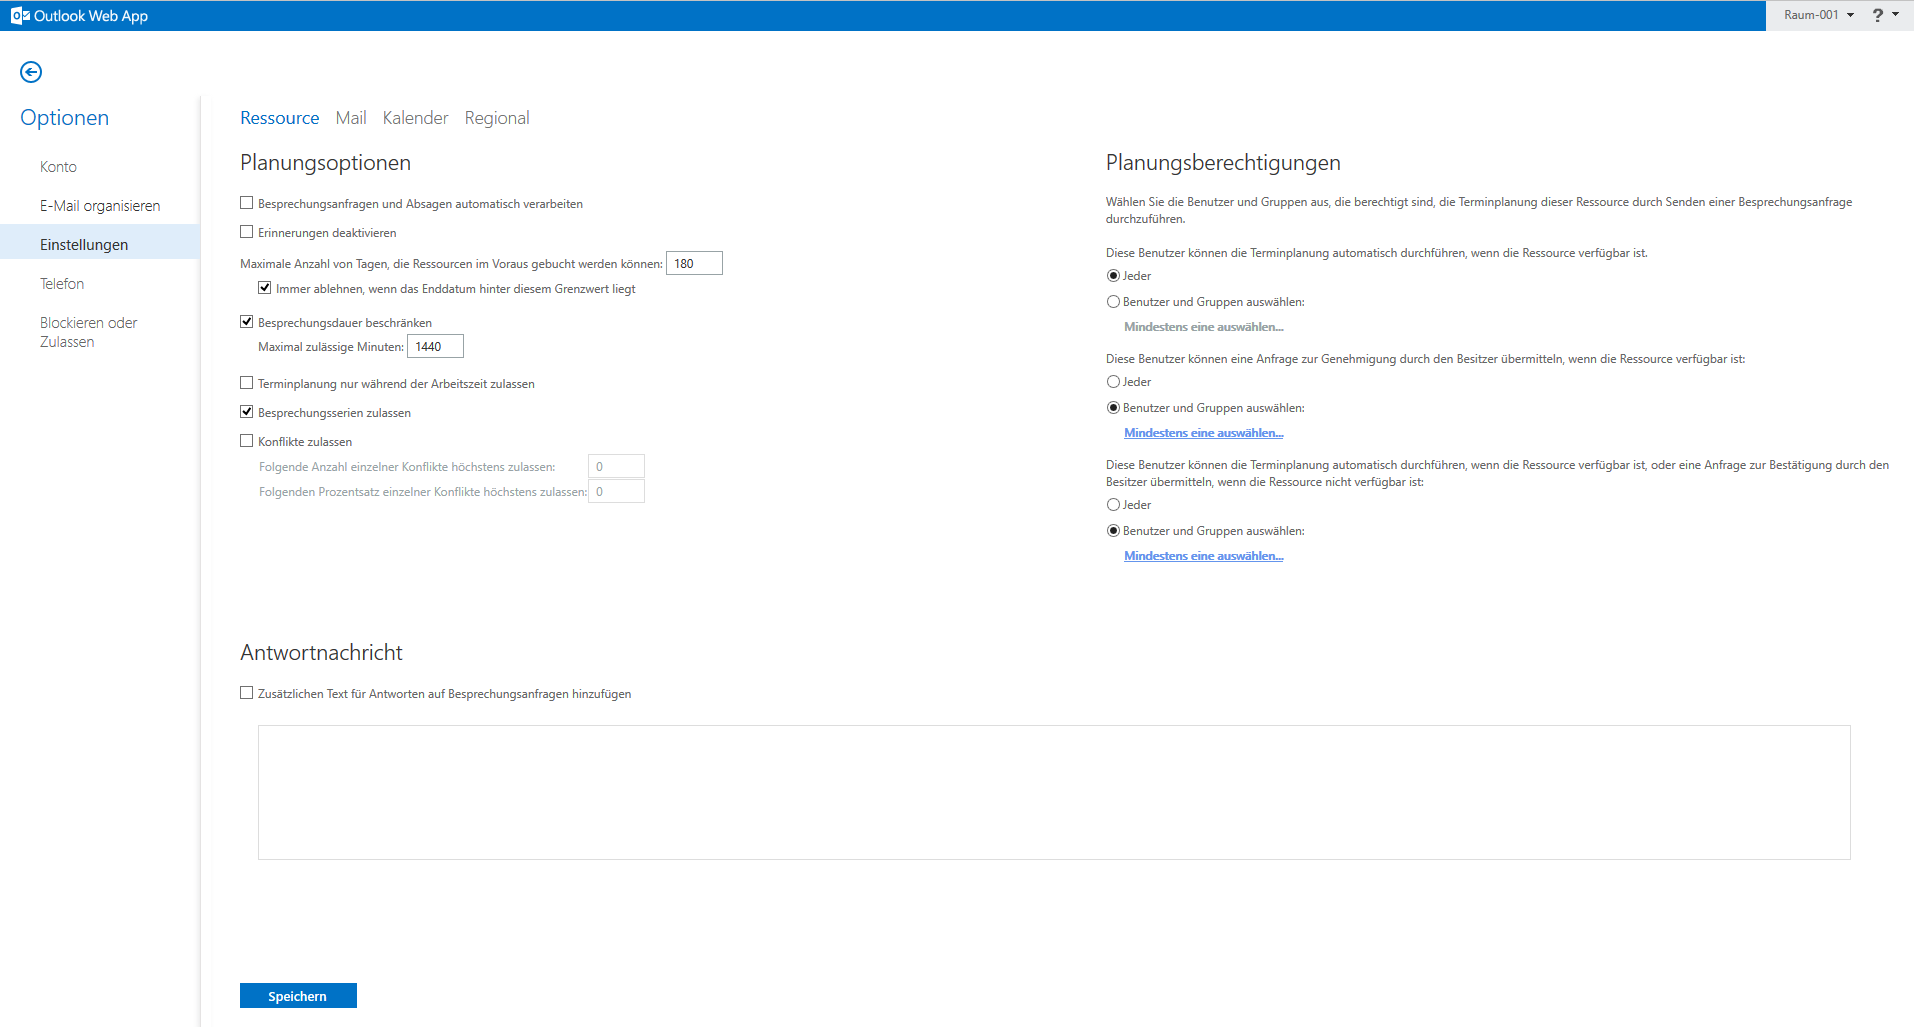
Changing the settings for a resource mailbox
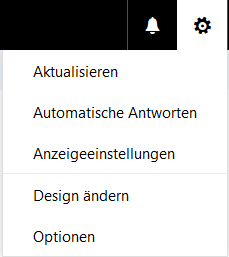
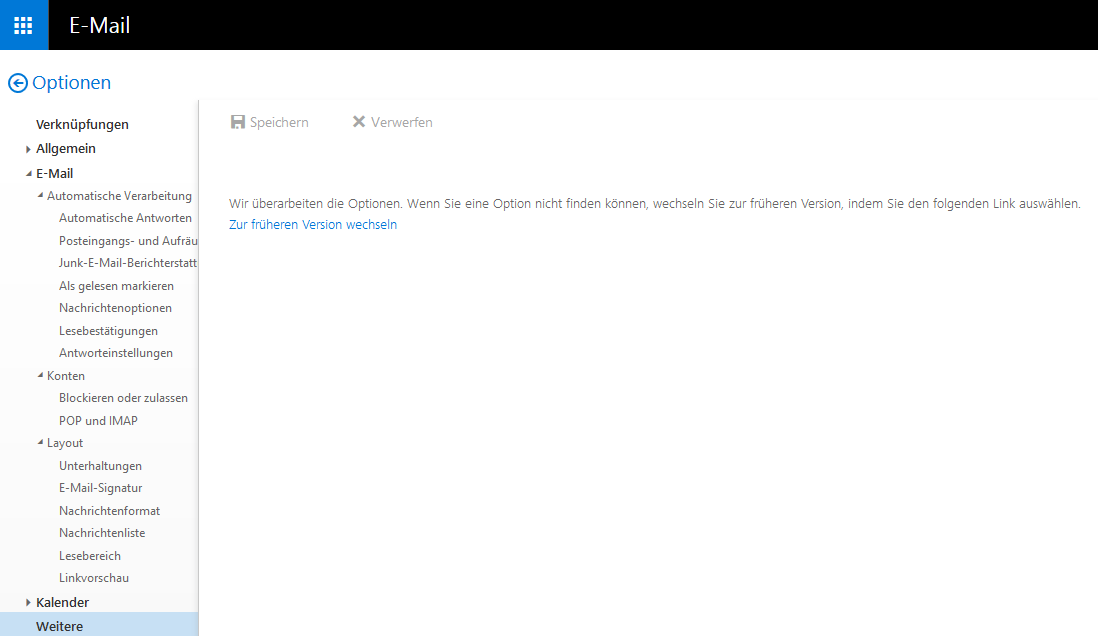
First, access the resource mailbox via the Outlook Web App as described above. Then click on the cog icon in the top-right pane and then click on “Options” in the menu.
Next, click on “Other” in the lower left pane and then on “Change to the previous version” in the right pane.
Select the menu item “Settings” in the left pane, and then make the required settings. For example, under “Scheduling options” you can make a setting for meeting requests to be answered automatically without the administrator having to respond.